Guide
A Professional Guide to Levelling, Torting, and Filling Sponge Cakes
Achieving a perfectly flat, professional finish starts long before the final coat of icing. This guide covers the essential techniques for levelling your sponges and filling them with precision to ensure structural integrity and a beautiful slice.
Preparation and Chilling
Before you even pick up a knife, ensure your sponge is completely cold. A warm cake is far too fragile and will tear. For the best results, wrap your sponges in cling film and chill them in the fridge for at least two hours or even overnight. This firms up the butter in the sponge, making it easier to cut without excessive crumbing and allowing for a much cleaner finish.
Levelling the Top
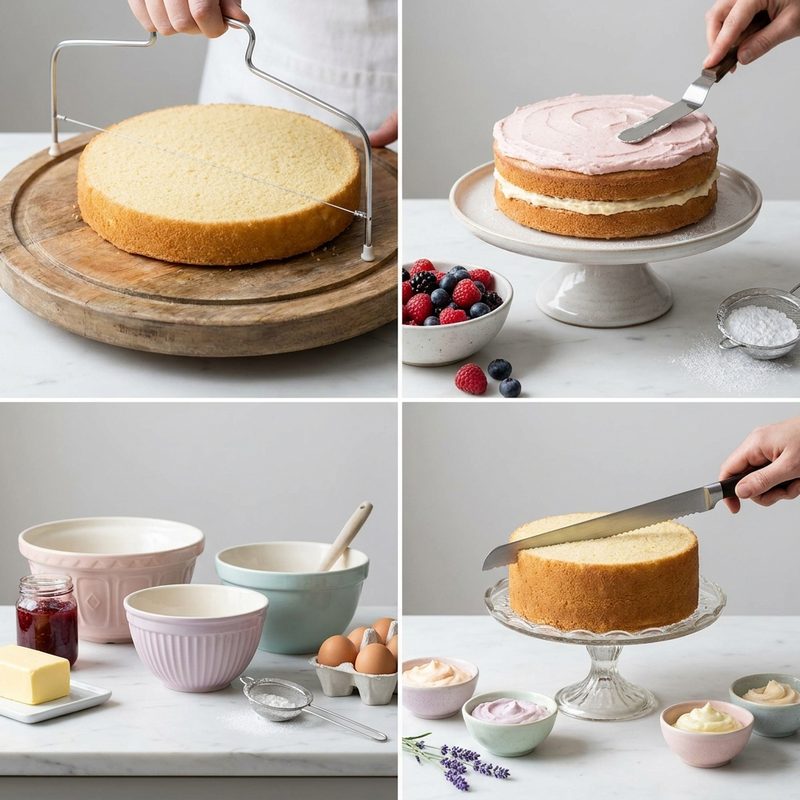
Most sponges rise with a slight dome. To ensure your cake stands straight and tall, this dome must be removed. Place your sponge on a non-slip turntable. Using a long, serrated bread knife or a dedicated cake saw, hold the blade level with the lowest point of the cake's top edge. Keep your elbow tucked into your side and slowly rotate the turntable, letting the knife saw gently into the cake. Do not try to cut all the way through in one go; let the rotation do the work until the 'cap' is released.
Torting for Extra Layers
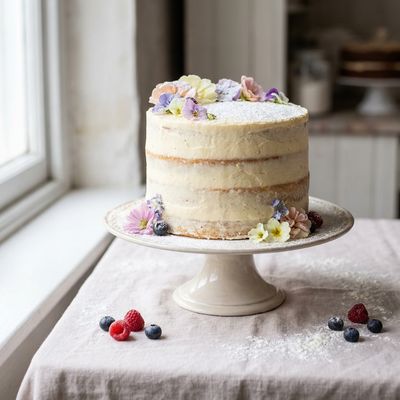
If you want a multi-layered look, you may wish to 'torte' your sponge—cutting one thick layer into two thinner ones. Measure the height of the cake with a ruler and mark the midpoint with toothpicks at intervals around the circumference. Use these as a guide for your serrated knife, again rotating the turntable to ensure a perfectly even horizontal cut. This technique doubles the amount of filling you can include, enhancing both the flavour and the height of the cake.
Creating the Buttercream Dam
To prevent softer fillings like raspberry jam or lemon curd from leaking out the sides, you must create a 'dam'. Fit a piping bag with a plain round nozzle and fill it with stiff crusting buttercream. Pipe a ring approximately 1cm from the edge of the bottom layer. This creates a structural barrier that keeps the filling contained and prevents the dreaded 'bulge' appearing under your final coat of icing.
Filling and Stacking
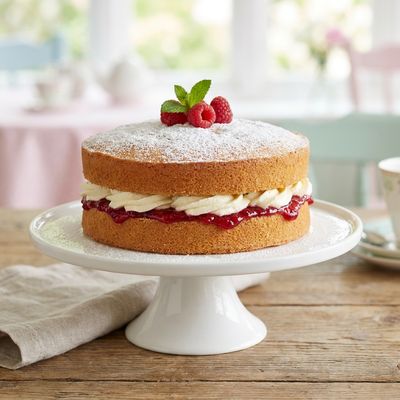
Spread a thin layer of buttercream inside the dam to seal the sponge, followed by a generous layer of jam or curd. Carefully place the next sponge layer on top, ensuring it is centred. To ensure the cake is level, place an acrylic cake disk or a small spirit level on top. If one side is slightly higher, gently press down until it is perfectly flat. For the final layer, always flip the sponge upside down so that the bottom of the cake (the flattest part) becomes the top of your masterpiece.