Celebration Cakes
How to Make a Realistic Brown Designer Bag Celebration Cake
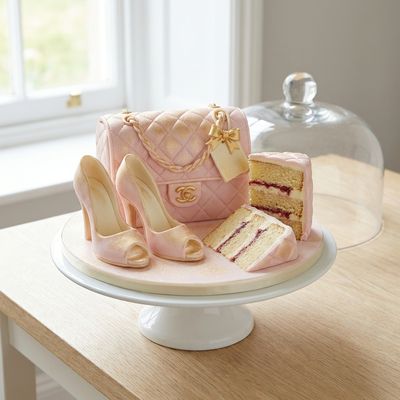
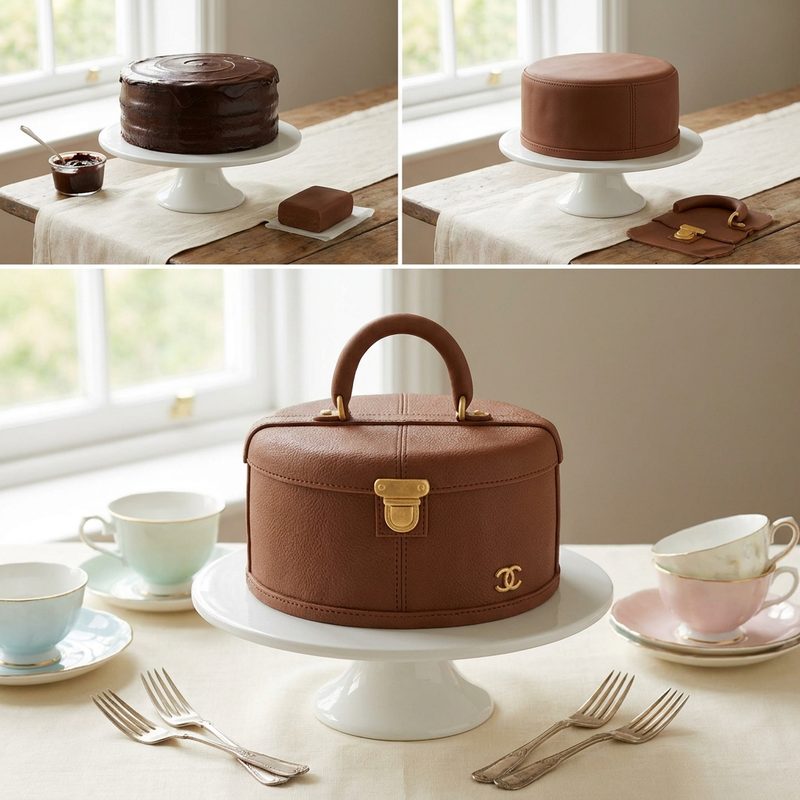
This exquisite celebration cake features a dense, carveable chocolate Madeira sponge layered with rich dark chocolate ganache. The exterior is meticulously finished with textured brown sugarpaste to mimic luxury grained leather, complete with hand-painted gold hardware and realistic stitching details.
- Prep
- 120 min
- Cook
- 60 min
- Serves
- 24
- Level
- Advanced
- Per serving
- 480 kcal
Method
Preheat your oven to 160°C (140°C fan) and grease two 8-inch square deep cake tins. Cream the butter and caster sugar until pale and fluffy, then gradually beat in the eggs one by one with the vanilla paste. Sift in the flour and cocoa powder, folding gently until combined.
Divide the batter between the tins and bake for 50-60 minutes or until a skewer comes out clean. Allow to cool completely in the tins. This firm Madeira sponge is essential for structural stability during carving.
Prepare the ganache by heating the double cream until just boiling, then pouring it over the chopped dark chocolate. Let it sit for 5 minutes, then stir until smooth. Leave to thicken to a spreadable consistency.
Stack the two sponges with a layer of ganache in between. Place the cake in the fridge for 30 minutes to firm up. Using a sharp serrated knife, carve the sides of the cake at a slight inward angle towards the top to create the tapered tote bag silhouette. Round off the corners slightly for a realistic look.
Coat the entire carved cake in a thin layer of ganache (the crumb coat) and chill. Apply a second, smoother layer of ganache to create a perfect canvas for the icing.
Roll out the brown sugarpaste to a 4mm thickness. Use a textured leather mat or a clean, dry sea sponge to emboss a grain pattern onto the surface. Carefully drape the sugarpaste over the cake, smoothing it into the shape and trimming the excess at the base.
Use a stitching tool or a toothpick to create small indentations along the seams of the 'bag' for a hand-stitched effect. Mix the gold lustre dust with a drop of rejuvenator spirit and paint the 'buckles' and 'zips' made from small pieces of modelling paste.
Roll out the modelling paste into long sausages to form the handles. Shape them into arches and allow them to dry over a cylindrical object (like a rolling pin) for several hours before attaching them to the bag using edible glue or cocktail sticks for support.
Notes
Carve the cake while it is cold from the fridge to minimize crumbs and ensure clean lines.
For a high-shine patent leather look, steam the finished cake briefly or brush lightly with a 50/50 mix of glucose syrup and water.
Use a dedicated stitching wheel tool from a cake decorating kit to achieve perfectly spaced stitches.
If the handles feel too heavy, incorporate a thin piece of food-safe wire inside the modelling paste for internal structure.